
Azure Stack HCI is a flexible hyperconverged infrastructure that will let you deploy a hybrid cloud solution where you can run virtual machines on-premises and easily connect them to Azure hybrid services. In this post, we will review some of the steps required to create these virtual machines.
There are several ways to build a virtual machine using an ISO image, on this example we will use the Windows Admin Center (WAC) to copy the required ISOs to a Cluster Shared Volume (CSV) on the Azure Stack HCI cluster. Before provisioning a virtual machine on Azure Stack HCI, the cluster must be previously registered on the Azure Portal and a Cluster Shared Volume should be created using the Windows Admin Center or via Windows PowerShell.
First, from the WAC console select your cluster, then under Tools > Storage > Inventory select Volumes and go to the C:\ClusterStorage folder where you will see your volume folders (ex. Volume01).

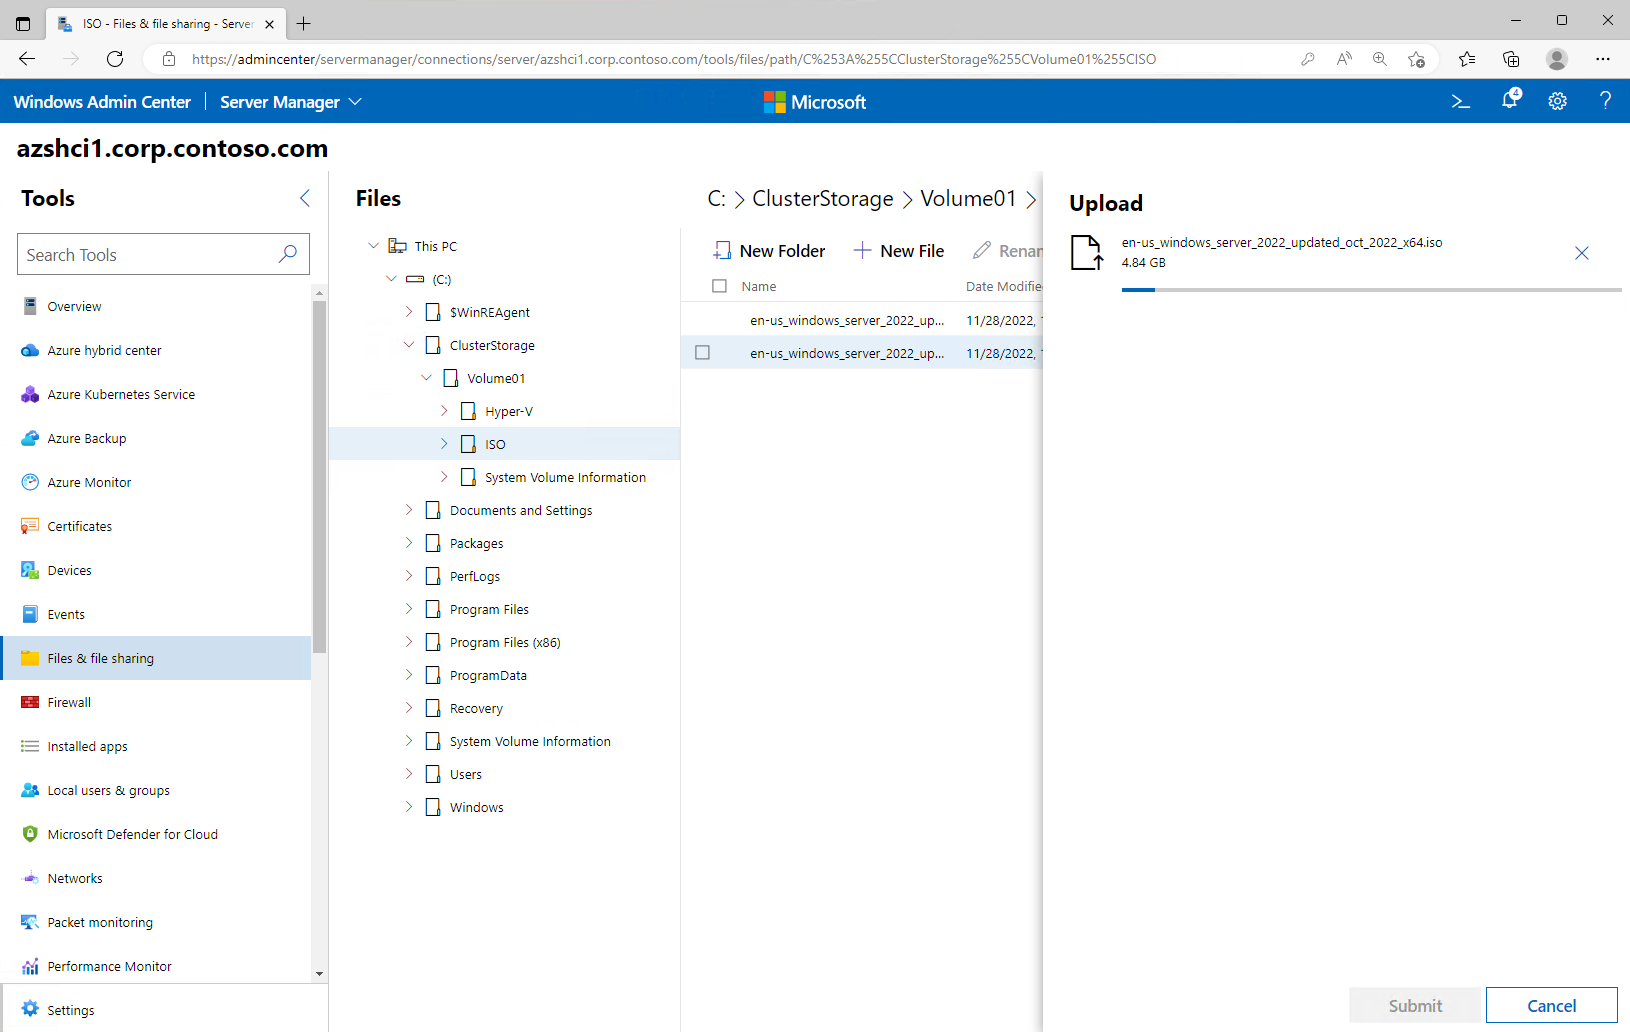
After selecting Volume01 you will be on the correct path to create the ISO folder that will be the recipient of our ISOs images.

Now select the newly created ISO folder, choose Upload and browse your system for the required ISO image. In this example, the Window Server 2022 Datacenter ISO image was used. You can download an evaluation copy from here.
After copying the required ISOs to the designated folder return to your cluster object on the WAC console, then under Tools > Compute > Virtual Machines Inventory select Add and complete the new virtual machine form with the VM name and the correct path to the Cluster Share Volume location under C:\ClusterStorage.
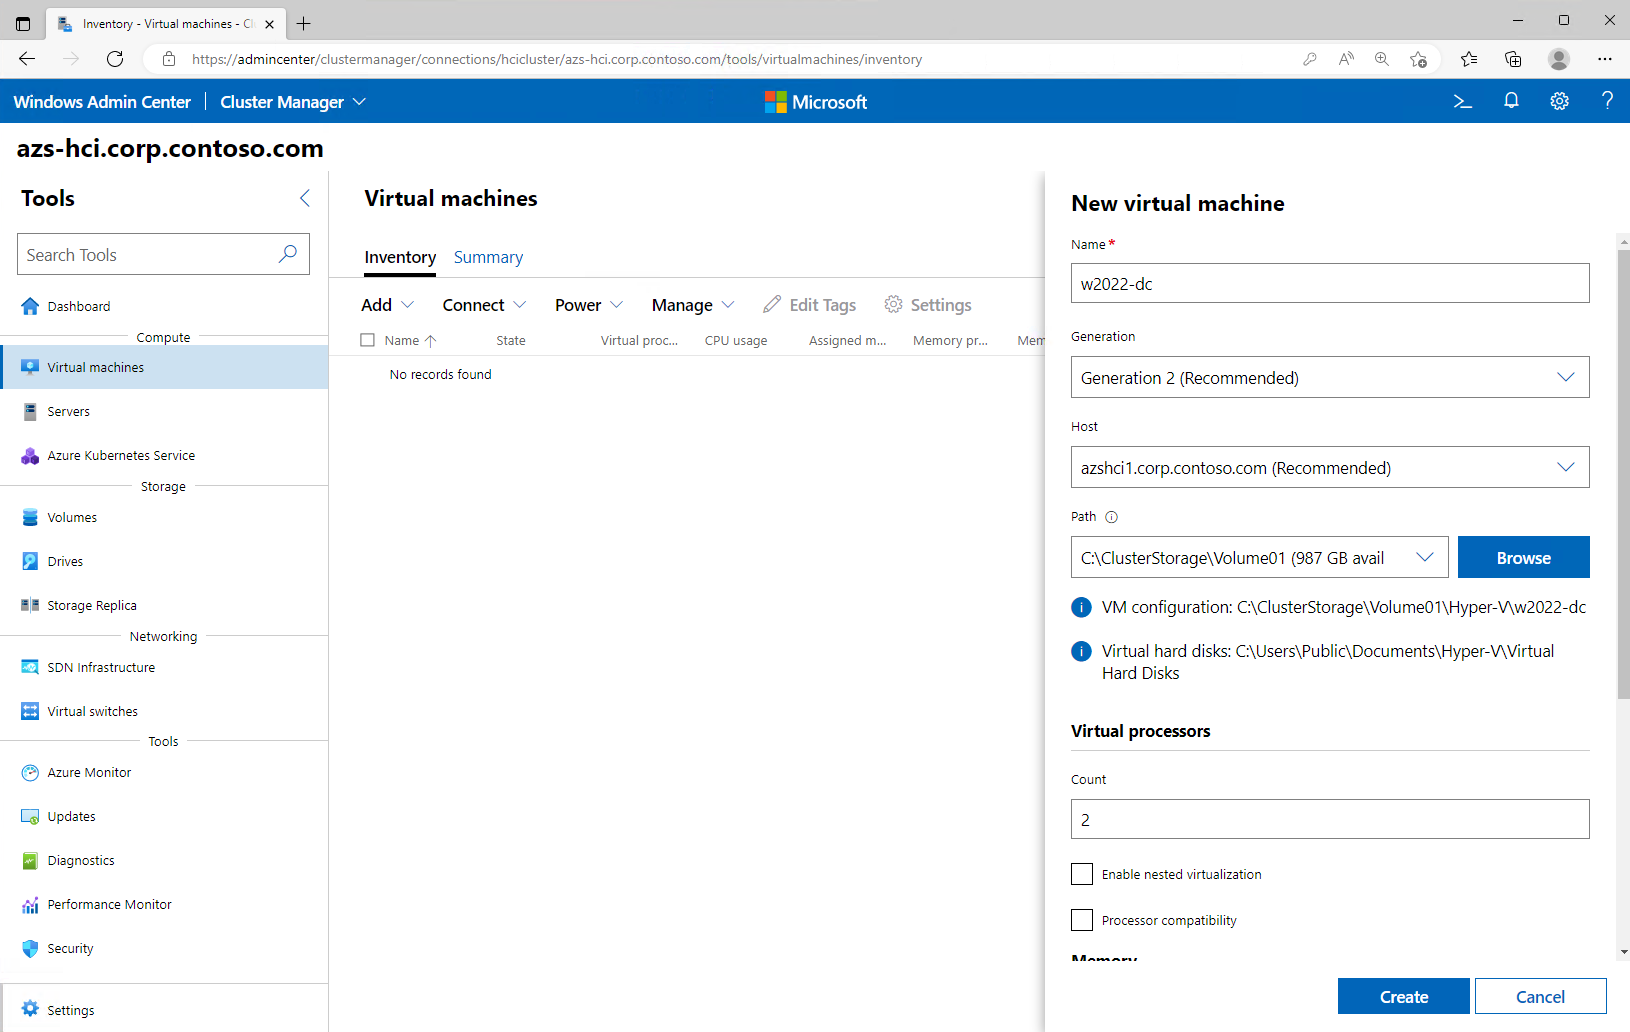
For Windows Server 2022 Server add at least 2GB RAM if Desktop Experience is required, select the virtual switch, the default 127GB for the virtual disk size should be enough, and at the end, in the operating system section browse for the ISO image already copied on the ISO folder and click on the Create button.

Next, after successfully creating the VM under your Virtual Machines inventory select the VM, and click on Power > Start.

Now you can select the VM Connect option to connect to the VM via the Remote Desktop Protocol (RDP). If there is an error regarding No operating system was loaded, send Crtl-Alt-Del wait, and then Press any key to boot from the ISO image.

Finally, you should have the Microsoft Server Operating System Setup ready to install Windows Server 2022.

In another post, I will demonstrate how to protect your VM using Azure services.
