
In this post, I am going to explain how to create bootable USB media to install ESXi on a virtual or physical machine. The first thing to do is download the required version of ESXi from VMware downloads. In the following example, I will be using ESXi 7.0U1c to create the bootable USB flash drive.
There are several ways to create a bootable USB drive depending on the operating system of your choice but to move forward with this task as quickly as possible I will recommend downloading Rufus on a Windows 10 operating system. Rufus is a utility that helps format and creates bootable USB flash drives, such as USB keys/pen drives, memory sticks, etc. You can download the latest version of Rufus from here. Now after downloading the required version of ESXi and Rufus you are ready to create the bootable USB flash drive.
First insert your USB media, preferably an 8GB empty drive but you can use a smaller media. Next search under your Downloads folder for the rufus-3.13.exe (downloaded version at the moment of this post) and double-click on it. Choose SELECT and search for the ISO file previously downloaded from the VMware downloads site. You can leave the rest of the options as default but you can change the Volume label to your preferred media description.
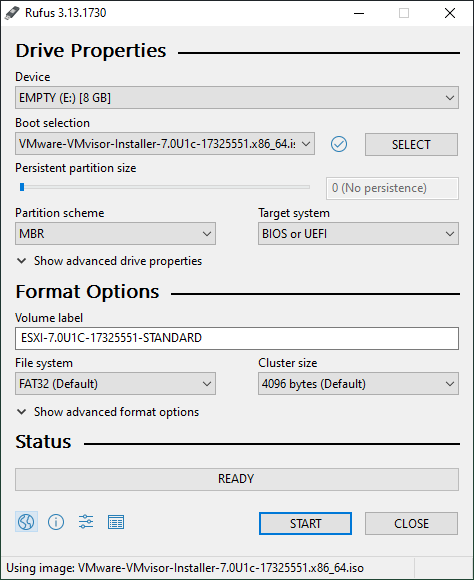
Next, you can select START to create the bootable USB media, select OK to accept the warning message regarding the destruction of all data on the USB media.

After selecting OK, Rufus will now start copying the ISO content to the USB media and will deliver a bootable USB media ready to install ESXi on a bare metal server or a virtual machine if required.
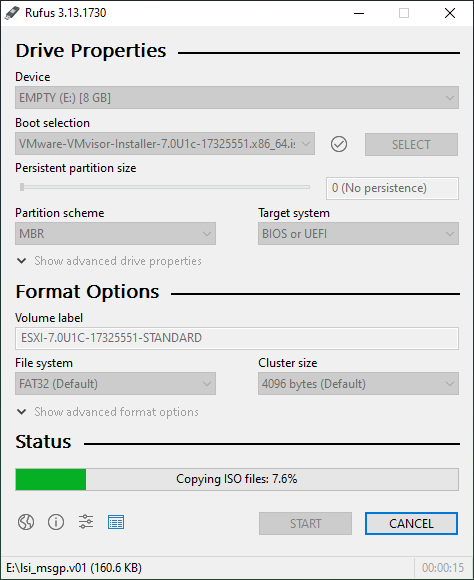
Already finished the copy process you will see a READY green bar, close Rufus, and Eject the USB media safely from your Windows Explorer.

You are ready now to install an evaluation copy of ESXi using your freshly baked bootable USB media.
