
There are several ways to install ESXi, bare metal option is the process generally used by most IT Administrators, but you can also install ESXi nested under VMware Workstation, Player, or Fusion environment for training, evaluation, or educational purposes. To be in accordance with the purpose of this personal blog site which is looking for easy ways to deploy and evaluate hardware and software, I will review the fastest installation option available to deploy ESXi on VMware Workstation which is using a virtual appliance in OVA format ready to be imported and used.
Just download the prebuild virtual appliance of ESXi from virtuallyGhetto website.
To start I will assume that you already download the required OVA file from the link above, for the purpose of this explanation I will use ESXi 6.7 Update 3 virtual appliance and will deploy it on VMware Workstation 15.5.6. On VMware Workstation go to File and select Open and browse for your OVA file under your Downloads folder. After you select Open the End User License Agreement screen will show up, select Accept, and click Next.

To keep things neat and clean I always prefer to keep names short as possible, so I reduce the default description on the virtual appliance and that will also keep the folder structure simpler.

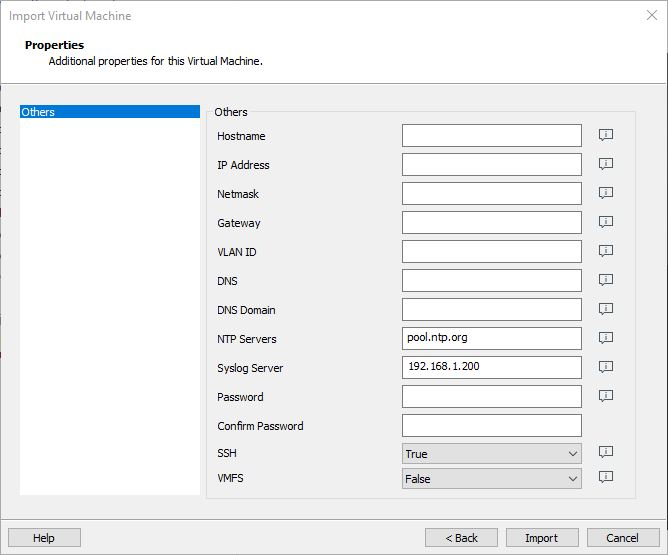
The next step will give you several options to customize de properties of the virtual appliance where you can enter the hostname, IP address, gateway, etc. Assuming that you have DHCP already enable on the network segment you could leave everything on default and later modified all these properties directly on the ESXi console. You can also check the default value on the info icon at the right end. The default username is root, the password is VMware1!, use it to log in the first time into the console or via your web browser.
After selecting Import you will see the actual process running and the ESXi virtual appliance will automatically boot using the default properties.
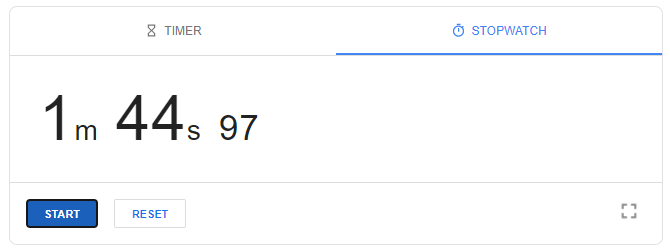
In my stopwatch, it just took 1m 45s from import to fully boot the ESXi host :-).
Finally, you can enter now the ESXi console with F2 and customize the hostname, IP address, DNS, etc. so you can administer the ESXi host from your browser via http://your-ip-address/.
