
On this LAB were going to install the DellEMC UnityVSA (Virtual Storage Appliance) as primary data storage on a VM under VMware Workstation Pro. Is important to mention that installing and running the UnityVSA under VMware Workstation is unsupported and this is only for evaluation, testing, or education purposes. For this LAB I did the installation on different systems with the Intel i7-6820HQ and i5-8365U processors and a total of 32Gb RAM and just relying on the minimum 12GB RAM requirements for the UnityVSA VM. Any other modern processor model and memory configuration of at least 18GB RAM will be enough to deploy this virtual appliance but your results and capabilities will vary. For guidance consider that for the actual production environment the minimal infrastructure requirements are the following:
vCenter version: 6.0 or later
ESXi: 6.0 – 6.7
Web-Browser: Chrome v57, IE v10, FireFox v52, Safari v6 or later
Number of ESX hosts: Equal to the number of Dell EMC UnityVSA nodes needed (1:1 mapping)
Dell EMC UnityVSA
RAM for each Dell EMC UnityVSA VM: 12 GB
vCPU for each Dell EMC UnityVSA VM: 2vCPU
Physical Server Requirements: Dual Core CPU 64-bit x86 Intel 2GHz+ (SSE4.2 or greater)
Hardware RAID Controller: 512MB NV Cache and Battery Backed (recommended)
Type of HDDs: SATA, SAS, SSD
I/O Ports (Front End or External): 1GbE / 10GbE
Physical Memory Requirements: 18GB (ESXi 6.0) or 20GB (ESXi 6.5/6.7)
Maximum Number of Pool LUNs: 64
Maximum LUN Size: 16 TB
Maximum File System Size: 50 GB
Maximum File Systems: 32
Maximum Usable Capacity: 4TB Community Edition / 10TB, 25TB, and 50TB Professional Edition
First, to start with the installation we need to download the UnityVSA-5.0.0.0.5.116.ova from Dell Technologies Software Downloads. After downloading the OVA file load your VMware Workstation Pro and look for File…Open and browse to the OVA file and a dialog box with the Import Virtual Machine wizard will be brought up.
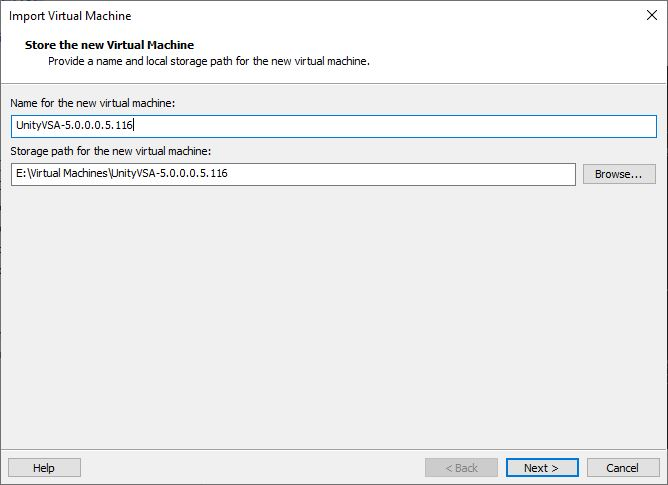
From here you should type the System Name you want to assign to the UnityVSA instance and the IP address you want to use or just leave it blank to be dynamically assigned by your DHCP server. Assigning a static IP address is highly recommended to facilitate easy access to the virtual appliance.


After finishing the Import Virtual Machine process the VM will boot automatically (it will take a couple of minutes, be patient) and present a spa login prompt on the VM screen. If you leave the IP address blank during the import process just wait a little bit until the screen shows the dynamically assign system IP address or if you assign one to the system you can go directly to your browser and point to the system IP address to start the Unisphere Configuration wizard. To login the first time the default user and password are admin and Password123# respectively.

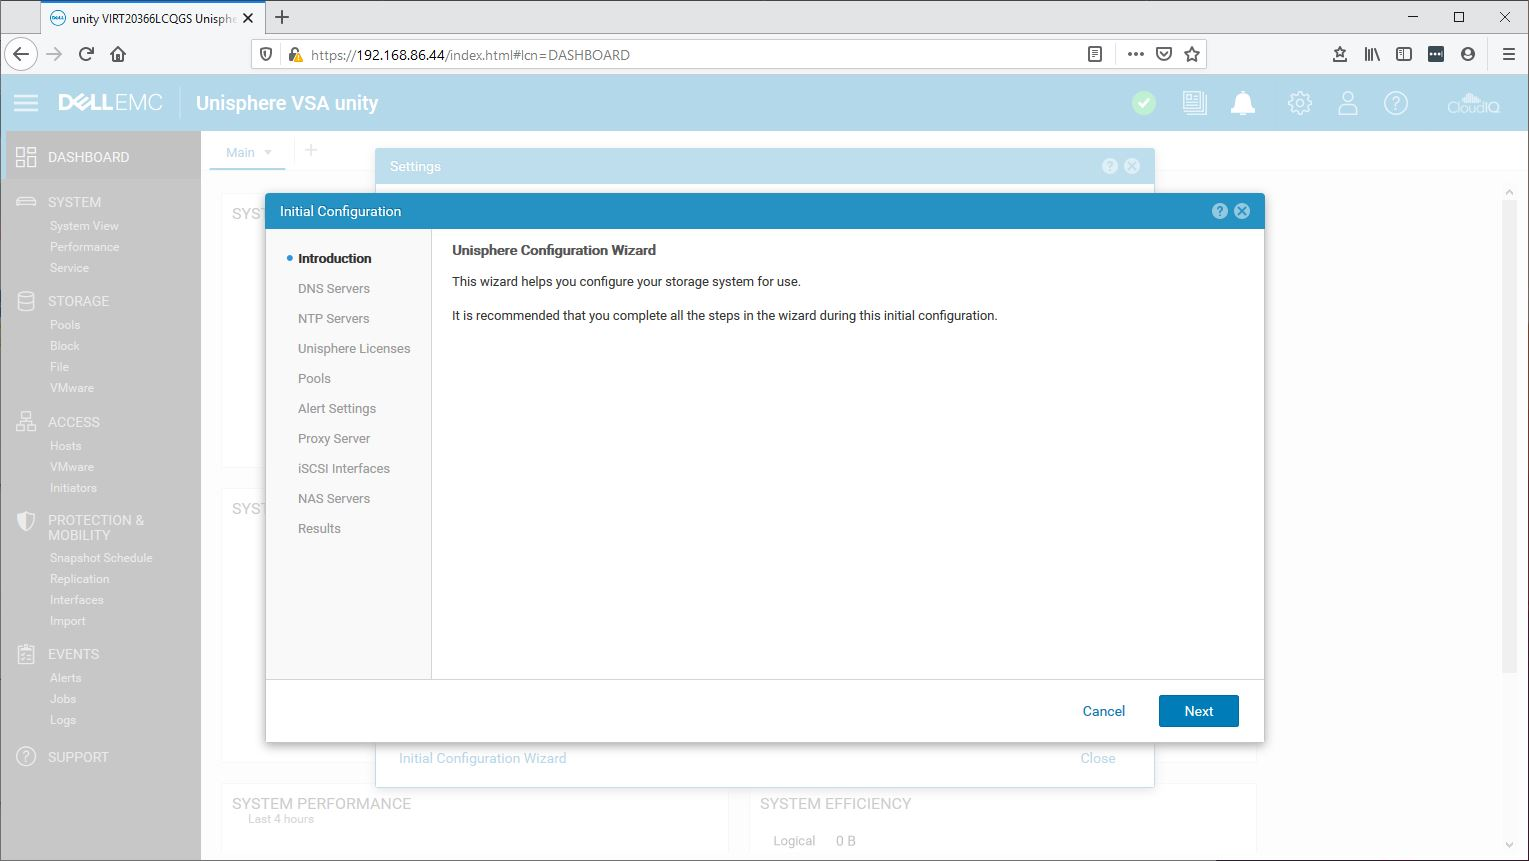
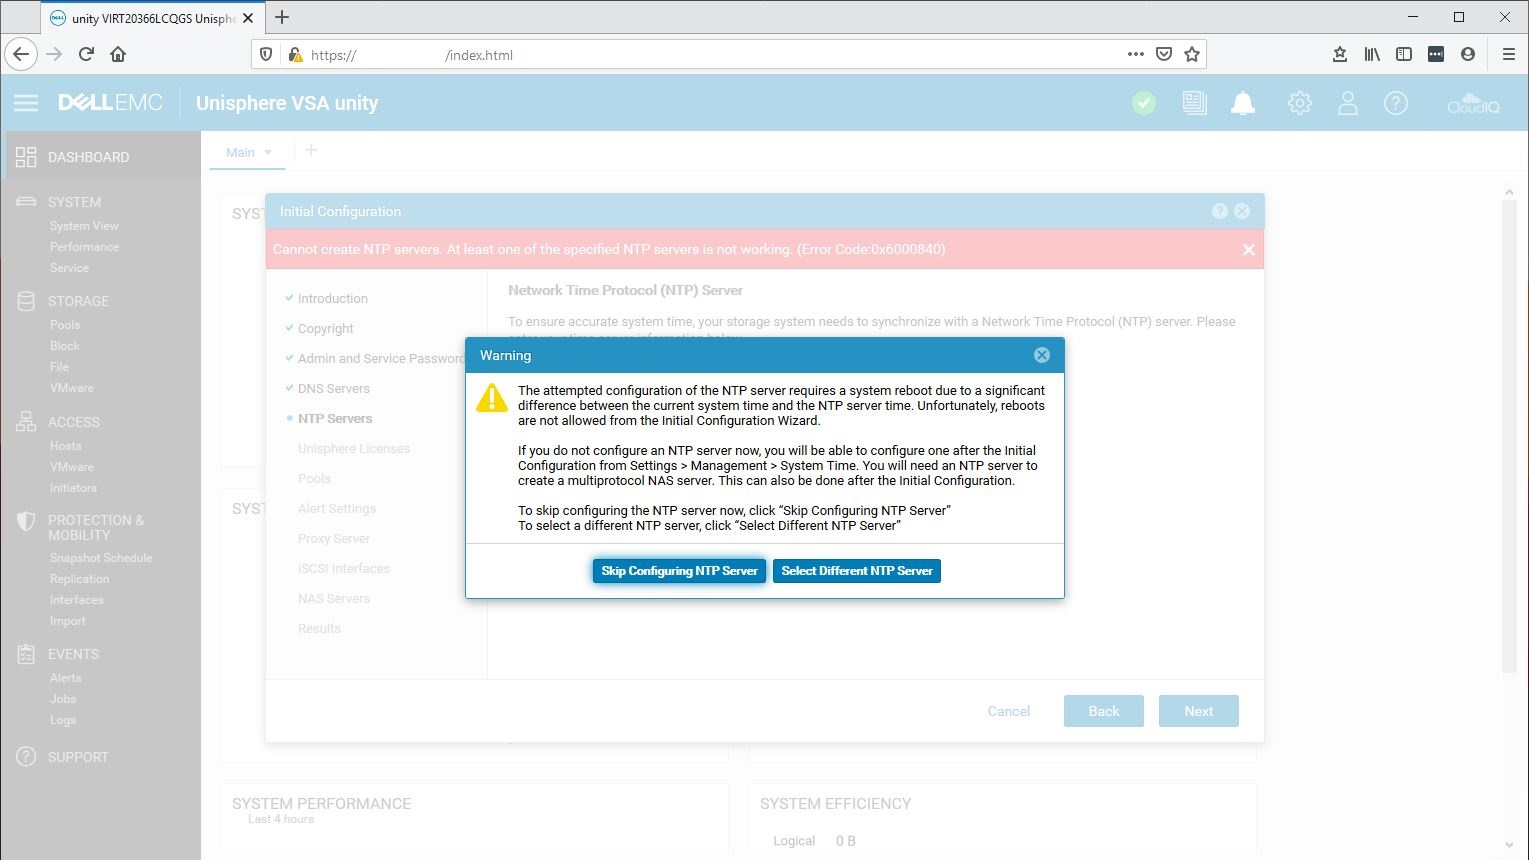
The following guided steps are pretty straightforward, here you will need to add your DNS servers, NTP servers, Unisphere Licenses, Pool, and iSCSI Interfaces among others. If you can’t assign the NTP server for any particular reason during this step you will be presented with the following warning screen, skip the configuration and later on add the NTP server under System Setting > Management section.
The next step will ask for the required Unisphere License, so I will recommend before starting the setup process verify that you have valid credentials for http://support.dell.com which will be required to download the necessary license file.

On the Unisphere License screen you will see the System UUID: copy the number, select the Get License Online link and paste them on the web Software License Request Form, select the Product Name and press Submit. The process will open a new tab on the browser with a text file, this is the license for this particular instance of the UnityVSA that you are installing, copy and paste the file on your favorite text editor and save it using a .lic extension. To finish this step select the Install License button and browse for your license file where you saved it.
The next step will launch the Create Pool Wizard to create the initial storage pool. On this step go back to your VMware Workstation Pro software, choose the Virtual Machine Settings of the UnityVSA VM and Add a New Hard Disk (.vmdk) with the desired capacity (ex. 100GB), the virtual appliance will recognize the new hard disk automatically when finished return to the Create Pool Wizard on your browser to continue with the pool creation. After assigning a name to the pool, the next step Tier Assignment you will need to select the View/Edit button to assign a Storage Tier to the Virtual Drive and then move forward to complete the next steps.

The final important step is to enable iSCSI connectivity to the virtual storage appliance under the Add iSCSI Network Interface section. First, select one of the four available Ethernet Ports, one is enough because the actual connectivity to the VM is limited probably by the single Ethernet adapter on your PC. Assign a valid IP Address and Subnet Mask that could be accessed from any other host (virtual or physical) that will eventually connect to the UnityVSA.

After configuring iSCSI you can proceed and enable file services configuring the NAS server if desired or proceed to finish with the Unisphere Configuration Wizard.
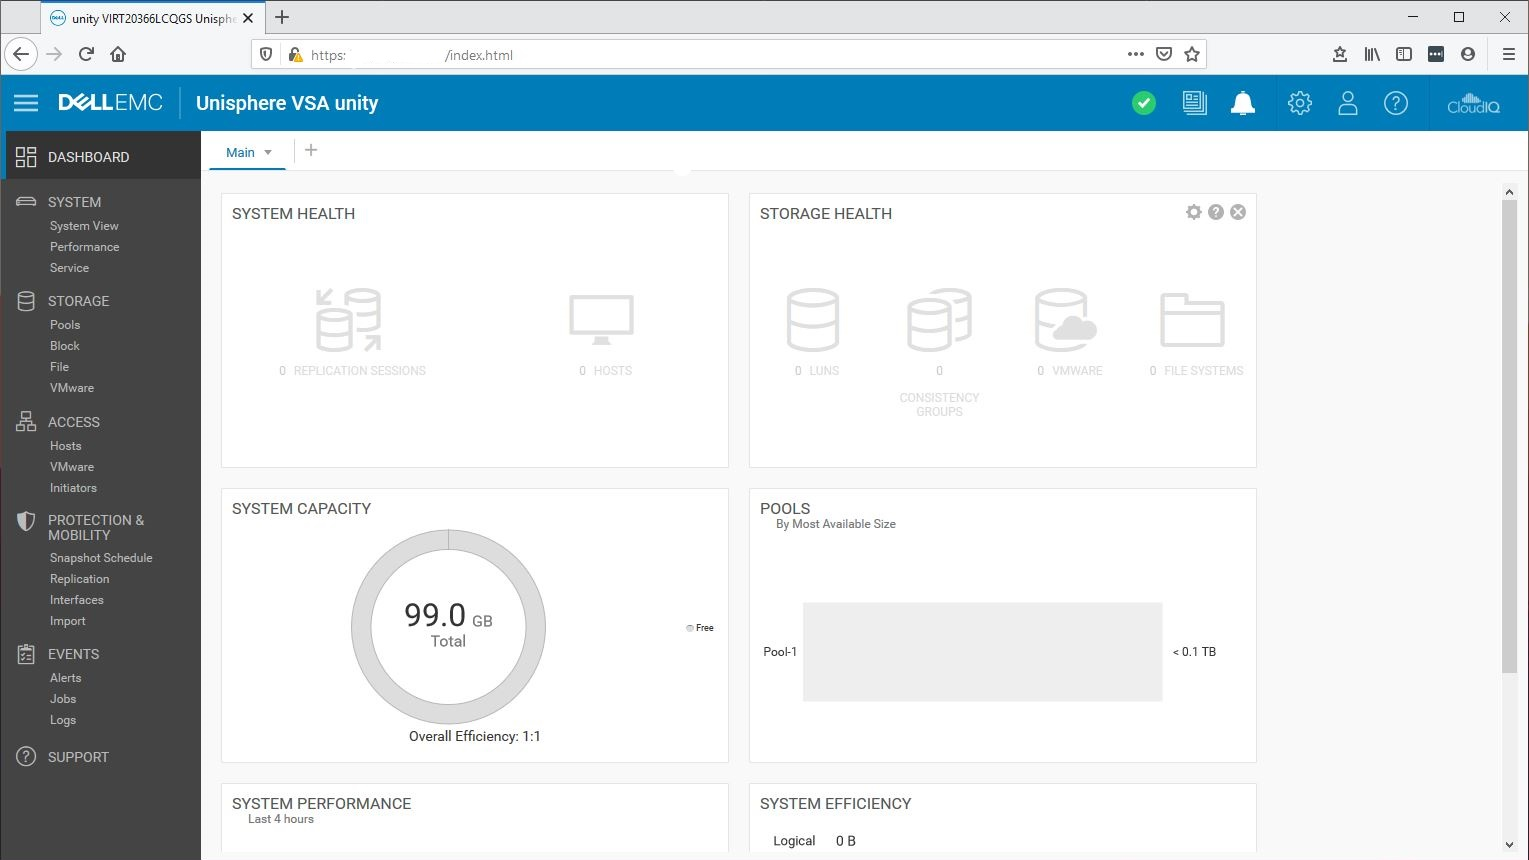
Finally, you can redirect your browser to the IP Address assigned to the UnityVSA and start managing the virtual storage appliance in the same way the physical unit is managed.
In another post, I will demonstrate how to connect a host to the virtual storage appliance over iSCSI and also enabling file services.
